3 Fun Crafts to Make with Bottle Caps
By: Alexandra Gakos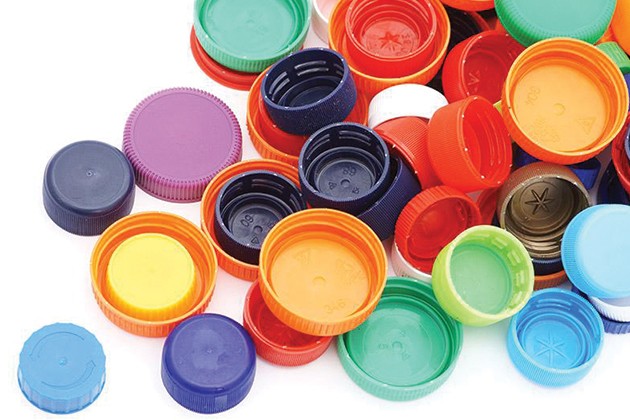
Go ahead and teach your kid to recycle plastic bottles. But grab those plastic bottle caps and use them to make these terrific crafts!
DIY checkers pieces
Because: Kids will love making their own game-room essentials.
What You'll Need:
- 24 plastic bottle caps
- A store-bought, handmade or hand-me-down checkerboard
- Newspapers (to protect the crafting surface)
- Kid-safe paint (2 colors)
- A paintbrush
Optional: Glitter glue in 2 colors—or 24 checker-size stickers to decorate the pieces. Let your child choose the patterns. Just make sure your child selects two different sets of stickers, with 12 stickers in each set.
What You’ll Do:
- Cover crafting surface with newspapers.
- Encourage your child to count out 24 bottle caps and separate them into 2 groups of 12 caps each. Paint one group one color, and the second group the other.
- Let paint dry.
- Optional: Add a sheet of themed stickers to each group of 12 bottle caps.
Add a twist: Make a checkerboard to match your fancy new checkers pieces.
What kids gain: Fine motor skills, focus and concentration when crafting, strategic thinking, taking turns
What to do next: Line up your pieces. Make the first move!
Clever and crafty picture frames
Because: Nothing says family like homemade frames.
What You'll Need:
- Bottle caps
- Hot glue
- Scissors
- Tape
- Newspapers (to protect the crafting surface)
- Kid-safe paint in assorted colors
- A paintbrush
- Two sheets of cardboard, 8” x 10” each
- A 4” x 6” family picture for the inside of the frame
- Optional: Pompoms, stick-on gems, glitter glue, beads and shells
What You'll Do:
- Cover crafting surface with newspapers.
- Cut out one 4” x 6” rectangle from the center of one cardboard sheet, leaving a perimeter of about 2” in width. Set aside the second piece of cardboard.
- Let your child’s imagination run wild. Encourage your child to paint the front of the frame any color.
- Let the frame dry.
- Help your child paint the bottle caps any or all colors.
- Allow the bottle caps to dry.
- Hot glue the painted bottle caps in place on the frame for your child. If your child wants to add other decorations, hot glue the additions to the frame.
- Tape the 4” x 6” photo into place on the reverse side of the cardboard sheet so the picture selected can be seen in the frame.
- Glue the remaining 8” x 10” cardboard sheet to form the back of the frame.
What kids gain: Fine motor skills, creative decision making, ability to focus on the task at hand
What to do next: Display pic and frame for everyone to see!
Funky emoji refrigerator magnets
Because: Everyone needs a laugh.
What You'll Need:
- Bottle caps
- Magnets
- Hot glue
- Craft glue
- Kid-safe yellow paint
- A paintbrush
- Yellow glitter glue
- Construction paper
- Newspapers (to protect the crafting surface)
What You'll Do:
- Cover crafting surface with newspapers.
- Help your child paint a bottle cap yellow.
- Let it dry.
- Use hot glue to attach magnet to the back of the bottle cap (this task is for you, parents!).
- Help your tiny techie cut out two small eyes and a little mouth out of construction paper. Invite them to glue the eyes and mouth on the front of the bottle cap, forming a face.
- Encourage your child to add glitter glue to the face to boost the wow factor!
What kids gain: Fine motor skills, planning skills, creativity, focus, concentration
What to do next: Encourage your child to create an emoji collection with winking faces, faces with tears of joy and all of your child’s favorites. Then, plaster them all over the fridge!

