Activities
Arts and Crafts
HANDS-ON FUN FOR ALL AGES
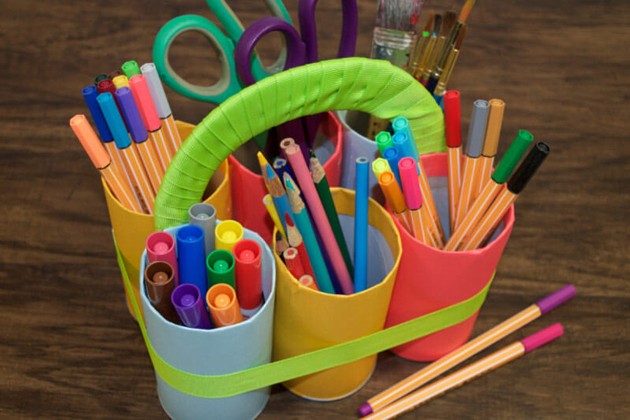
From how to make homemade clay to easy cardboard tube crafts, find hours of creative exploration in this collection of imaginative hands-on arts and crafts activities. Discover something new to do together today and explore crafts for kids of all ages.