How to Make A DIY Simple Supply Caddy
By: Highlights Editorial
Try this art caddy craft with your kids to help them—and you—be your best-organized selves.
What You'll Need
What to Do
-
Glue paper around the juice cans. Leave an extra inch of paper at the top. Snip several slips in the extra paper, then fold it into the can and tape it in place.
-
Glue the cans side by side, in groups of three. (Don’t glue the groups to each other.)
-
Trace a U-shaped handle on the cardboard. Make it long enough so the sides of the U are as long as the cans. The U should be almost as wide as the three cans. Cut out the U.
-
Wrap the cardboard U with ribbon, securing the ends with tape. Glue the handle between the two sets of cans.
-
Decorate your caddy with ribbon.
Extend the Fun
Younger kids: Help your child put things in the caddy. As you do this, talk about what’s going in each section and why. Use “like” and “different” as you fill the caddy. Sorting is a key math skill.
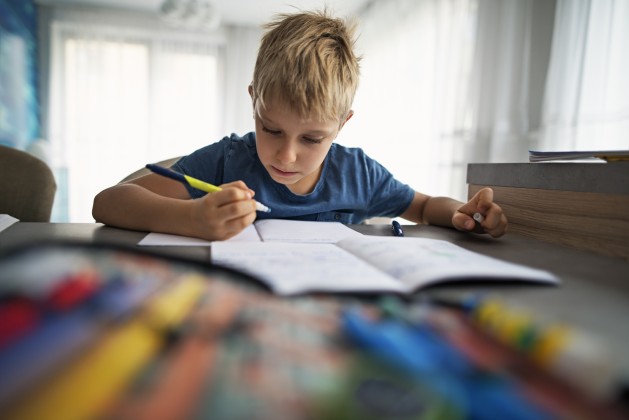
Older kids: Will this caddy fit all the markers and pencils your child has? Probably not. But this is a good thing! Together, talk about what your child will need in this caddy. If it’s the homework caddy, she might need a ruler and several pencils. If it’s the art caddy, she might include colored pencils and different kinds of glue.