5 Glitter Crafts for Kids
By: Alexandra Gakos
What can you do with a house full of kids when all you have handy are leftover scraps from earlier projects? The answer: plenty—if you’ve stashed some basic items. That means sheets of cardboard, lids from boxes, glue, pompoms*, tape, felt squares, a single-hole punch, toothpicks, scissors, wiggle eyes*, chenille sticks and glitter.
The ideas that follow are super for a small group of school-age children or one-on-one preschool play dates, although the littlest tots will require help and you may need to modify the projects. Either way, everything here will help hone some basic skills while encouraging youngsters to use what they must to be creative. (For important info on glitter control, see the tip at the end of this story.)
Smiley and Frowny Emoticons

What You’ll Need:
Sheets of cardboard
Yellow paint
Glue
Wiggle eyes
Chenille sticks
Pompoms
Felt
Glitter
What You'll Do:
- Cut out two 3-inch cardboard circles. Paint one side of each one yellow and glue the unpainted sides together.
- Add chenille-stick lips and wiggle eyes. (Glued-on felt or pompoms are good alternatives to wiggle eyes if you have concerns about tiny objects.) Attach one chenille stick, ends up, for the cheerful version, and the other stick, ends down, for the cranky fellow. Change colors and faces for additional emoticons.
- Cover all with glitter and call these your shimmering buddies.
Glitter Snowflakes

What You’ll Need:
Clean white coffee filters
Single-hole punch
Decorative-edge scissors
Tape
Glitter glue
What You'll Do:
Fold filters in half until each one is one-eighth of its original size. Then go bonkers punching out holes or using the scissors to create squiggles and shapes.
Unfold filters and assess efforts. Cover with glitter glue—try white, silver or any other color that makes a celestial statement.
Display on the fridge, tape to windows to show the neighbors or hang for a glittery mobile!
Frosty The Snowman

What You’ll Need:
Styrofoam balls
Toothpicks
Glue
Wiggle eyes
Chenille stick
Felt
Buttons
Twigs
Glitter
What You'll Do:
- Stack Styrofoam balls in size order and connect them with toothpicks.
- Glue on eyes, make a chenille stick nose and add a felt mouth (a small circle is all you need). Use twigs for arms.
- Finish the look with small black buttons running from neck to belly. (Have younger kids use small felt circles instead of buttons.)
- Dust your snowman with dazzling white glitter for extra shimmer.
- Accessorize your snow dude with a snappy felt scarf and hat. Make a second snowman or a snowwoman to keep him company.
A Delivery Drone Or an Insect

What You’ll Need:
Three craft sticks for each child
Yellow and black paints
Chenille sticks
Wiggle eyes
Glue
Glitter
What You'll Do:
- Paint one stick black and two sticks yellow.
- Apply glitter—try gold for razzle-dazzle.
- Place the matching yellow sticks on top of the black stick but arrange them in a crisscross pattern. Stop there if you want to make a delivery drone. Or tack on eyes, chenille-stick legs and chenille-stick antennae, and voilà—there’s your insect.
Handprint Flamingos

What You’ll Need
Pencil
Lid from a gift box
Scissors
Fluorescent pink paint
Glue
Pink glitter
3 clothespins
Wiggle eyes
Pink feathers
What You'll Do:
- Trace your hand on the cardboard lid and cut out the shape.
- Paint both sides of the hand shape and sprinkle generously with glitter. Paint clothespins, too.
- Orient the hand sideways, so the thumb points up. Use clothespins for legs (clip them to the part of the palm that’s near the pinky). Use the remaining clothespin for the head and neck, placing it on the palm but close to the thumb.
- Add a wiggle eye to each side of the clothespin head.
- Need more pink? Add fuchsia feathers. Don’t love that color? Try red paint and blue glitter and create a patriotic flamingo or pick your favorite color.
Glitter control tip: Cover your work surface with multiple layers of newspaper. Place a sheet of creased construction paper on top of that. Try to confine the work to that area. To tidy up, slide the glitter into the fold of the construction paper, and use the paper to funnel the glitter back into its original container.
*Indicates possible choking hazard; close supervision for children age 4 and under is a must.
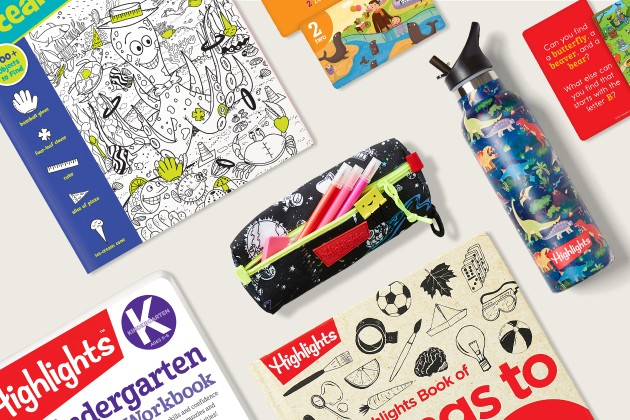
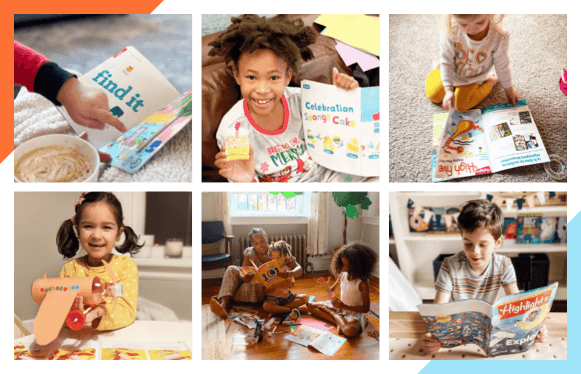
Support budding young artists! Creative expression comes to life with these inspiring activities and books.